North Brisbane Lapidary Club

We Dig Rocks

  • Email
  • Facebook
  • Home
    • Activities
      • Gem Cutting
      • Fossicking
      • Metalsmithing
        • Beginner Silversmithing Projects
      • Gemmology
    • Membership
      • Constitution of the North Brisbane Lapidary Club Inc.
      • Costs and Fees
  • Visit Us
  • Gem Shows
    • QLACCA Gem Show Dates
    • Raffles & Prizes
    • Gem Shows Photo Gallery
    • Gem Show Dealers & Traders
  • News
    • Blog
      • Gem Show
      • Work Sessions Activity
      • Club event
      • Cabbing
      • Enamelling
      • Faceting
      • Fossiking
      • Metalsmithing
    • Newsletter Archive
  • Member’s Area
    • Calendar
      • My Bookings
    • Suppliers
    • Resources
    • Gems, Minerals and Rocks
    • Competitions
  • Log In
  • Log Out

1940’s Brooch

July 22, 2021 By Carol

by Thierry

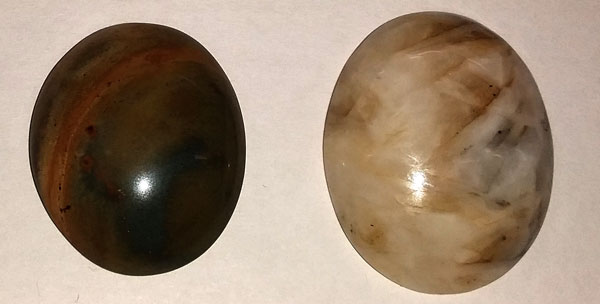
Enhancing a 1940’s Sterling Silver Brooch – The original Brooch had a Green Cut Glass Stone with a Golden Mirror backing. The patterns were covered in black paint of a sort and the Brooch took a bit of bashing. I first removed the back paint and restored it to shape, to discover a delightful and intricate Brooch. The Green Cut Glass didn’t do it justice, so I cut a piece of Maryborough Chrysoprase as a Cabochon. The Apple Green colour of the “Australian Jade” adds Charm and Elegance to this Sterling Silver brooch. A Christmas present for my Mother in Law … Why on Earth should I be so nice to her?

Filed Under: Metalsmithing

Topaz Ring

July 8, 2021 By Carol

by Thierry

“The Brilliance of a Topaz” or “The Art of Fitting a Round Gemstone in an Oval Ring!”  – A rather humble but elegant Lost Wax Casting Ring designed for an Oval Gemstone. I had the perfect stone for it! A brilliant cut blue Topaz, but it was round! So I carefully reformed the ring to accommodate the Gemstone. I did set the Topaz low so to enhance the ornate design of the ring, but also to give it this magical brilliance as if the ring was alive. Cast by Joyce, embellished by a ‘Frog’!

Filed Under: Metalsmithing

Conversion of a Brooch

June 24, 2021 By Carol

by Thierry

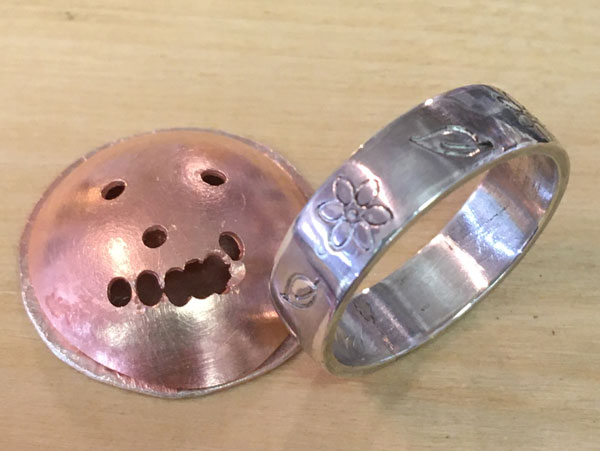
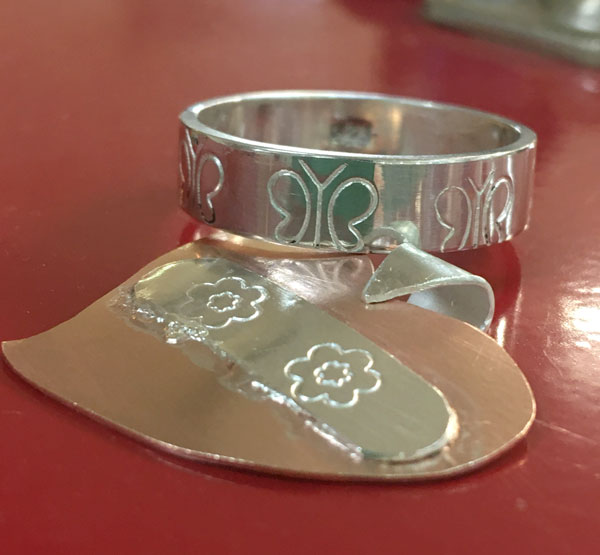
Brooches tend to stay in drawers, unloved nowadays, but many of them can be adapted to wear as pendants by making some simple inserts.

Here is an example of two inserts. A chenier and rabbit ears bail fitted over the pin; and a square with a standard bail.

Filed Under: Metalsmithing

Chains

June 17, 2021 By Carol

by Mary

Chain variations that Mary has worked on since the President’s Challenge, a bracelet and necklace.

Filed Under: Metalsmithing

Bezel set ring

June 10, 2021 By Carol

Made by Lisa

Lisa is one of our budding beginners, who has now completed all the beginner projects, the last one being this ring.  There was no bezel wire so she chose to go ahead with the stepped bezel making a feature of it.

I am really looking forward to seeing what she chooses to make next.

Filed Under: Metalsmithing

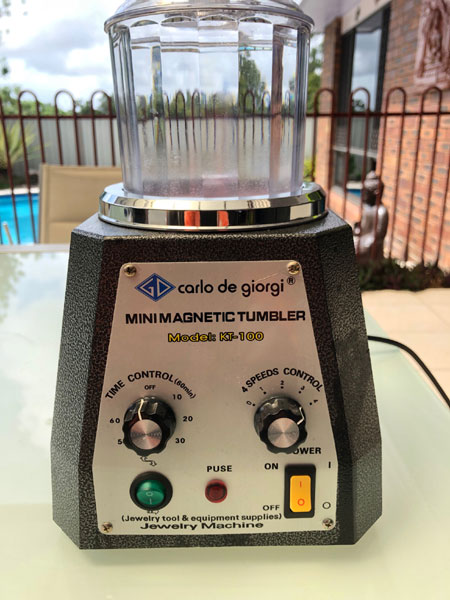
KT-100 Mini Magnetic Tumbler

May 20, 2021 By Carol

Views from Thierry

You can get these 100mm magnetic tumblers on Ebay for about $300, supplied with and acrylic bowl, and 100 grams of 0.3 mm x 5 mm stainless steel pins. You still need to purchase some Tumblex Gleam powder ($20 for a jar at AJS).

Italian Brand name made in China. The tumbler is basically a magnet stirring the steel pins in the acrylic bowl.

These machines are perfect for tumbling intricate textured pieces and chains as the tiny pins can go and burnish every spot, unlike a traditional steel shot burnisher as the shots are much bigger. But these machines have a few quicks and drawbacks

  • Machine as supplied
  • Cracked Bowl
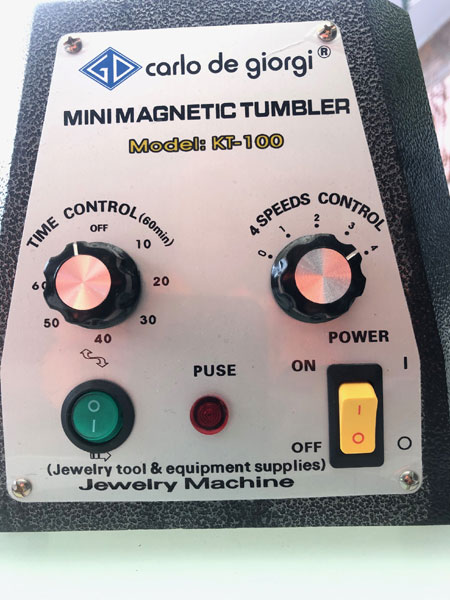
  • Machine Settings
  • You still need to purchase some Tumblex Gleam powder ($20 for a jar at AJS)
  • The acrylic bowl is of poor quality in my view, with the base cracking and leaking over time. Sourcing a replacement bowl at a reasonable cost is virtually impossible. So, I use a Pyrex Simply Store 2 Cup Round Storage Dish (11.4cm x 5cm) – $10 at BigW
  • The 100 grams worth of pins is ample enough, but sourcing additional pins is difficult in small quantity
  • The supplied pins look clean, but they are very dirty from the manufacturing. I tumble them twice before tumbling any jewellery pieces
  • You must leave the pins in a Tumblex Gleam solution to prevent any oxidation when not in use
  • You never ever leave the pins after use on the machine or your pins will get magnetised and become totally useless
  • Cleaning the pins is not easy their tiny size, I gently clean them under running hot water
  • As they clean/polish much more in details, chains notably, the solution gets dirty faster than a traditional burnisher. I clean and replace the Tumblex at every use
  • You will end up having pin marks on your pieces if you burnish for too long. 30 minutes is enough or 10-15 mins for recleaning a chain
  • Rinsing the Pins
  • Tumblex and how much you fill
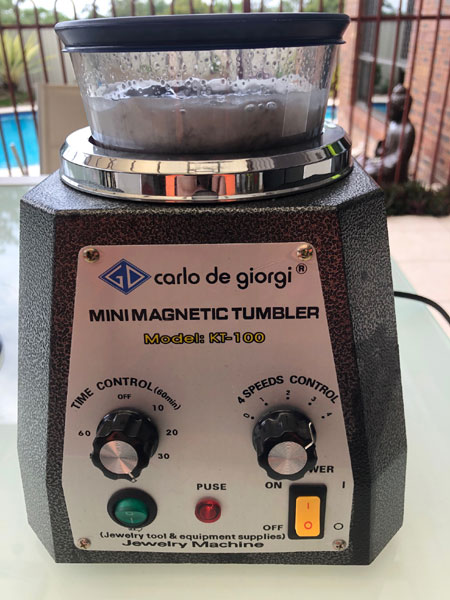
  • Machine in use with Glass bowl

So, this is my method for using it, you may decide on your preference once you start using it

  • First use, clean the pins twice before use
  • In the glass bowl, put the 100 grams of pins, a quarter of a teaspoon of Tumblex Gleam and about 15-20mm of water in the Pyrex bowl. No need to stir the powder
  • Put your pieces (they should have been cleaned up to start with)
  • Close the lid and vacuum seal the lid.
  • Set the speed control to 4 – Maximum. I never bothered trailing different speeds
  • Set the green button to oscillate – it will change direction every couple of minutes
  • Put the glass bowl on the unit
  • Adjust the time control – 30 mins is ample
  • Switch power on
  • Keep an eye on it, to make sure to remove the bowl once finished
  • Once finished, wipe any water spill on the unit
  • Open the lid gently, place the bowl in a sink, gently run hot water over the lid into the bowl to rinse it in case there is some pins stuck under the lid. Gently run the hot water over the bowl to rinse the liquid, gently moving the media and pieces to dislodge any dirt. Once the water is clear, remove a piece at a time and rinse over the bowl to drop the pins back into the bowl. Once finish remove the excess water and leave 15-20 mm of water in the bowl. Collect any runaway pins back into the bowl. Add a quarter of a teaspoon of Tumblex Gleam. Dry the lid and vacuum seal close the bowl. Store on the side of from the machine (not on it!)

Overall an excellent machine if you use it properly. Perfect for home but not ideal in a club as you need supervision to make sure people don’t overfill or leave it on the machine after use.

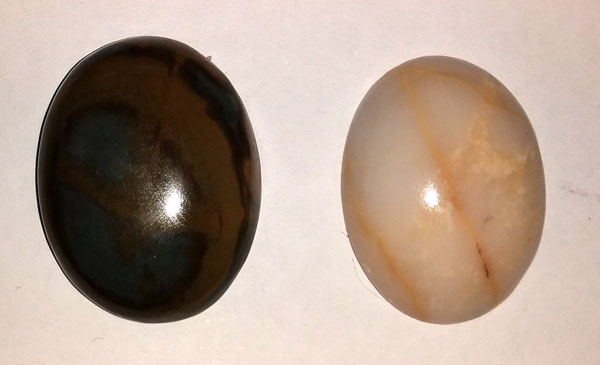
I use it all the time at home and it is a god send, notably for burnishing chains and castings. I first clean my pieces in an ultra-sonic cleaner and/or use a toothbrush and dishwashing liquid.

Filed Under: Metalsmithing

Chloe and her new workbench

May 13, 2021 By Carol

by Thierry

My daughter Chloe started silversmithing as soon as she turned 12, and has already shown great skills, steady and neat work with her bracelets. While her visits to the club are limited due to school and other activities, I was looking at ways for her to do some work at home in a safe, supervised environment.

I found this old stainless steel medical trolley on Gumtree for $40 and found it perfect for her to use on the patio area, still under supervision. The inside of the trolley is ideal as a workbench and the lid perfect as a soldering station as the lid gives protection. These are the modifications I made:

  • 2 x locking wheels -$25
  • Rubber matting from an old conveyor belt to prevent parts from slipping – $0
  • 2 x storage trays from Kmart to build up height inside – $9
  • 1 x chopping board from Kmart, with a handy groove to catch up those things that slip away. I only had to shave off 5 mm each side $19
  • 1 Hebel block, hand sawn to size to make two blocks – $9

Chloe loves it and is looking forward to using it. Hope you find this article of interest.

Rubber Mat

Work Area

Storage trays

Soldering Station

Filed Under: Metalsmithing

Opals and mixed metals

May 6, 2021 By Carol

by Nick

Filed Under: Cabbing, Metalsmithing

Beginners Day April 2021

April 29, 2021 By Carol

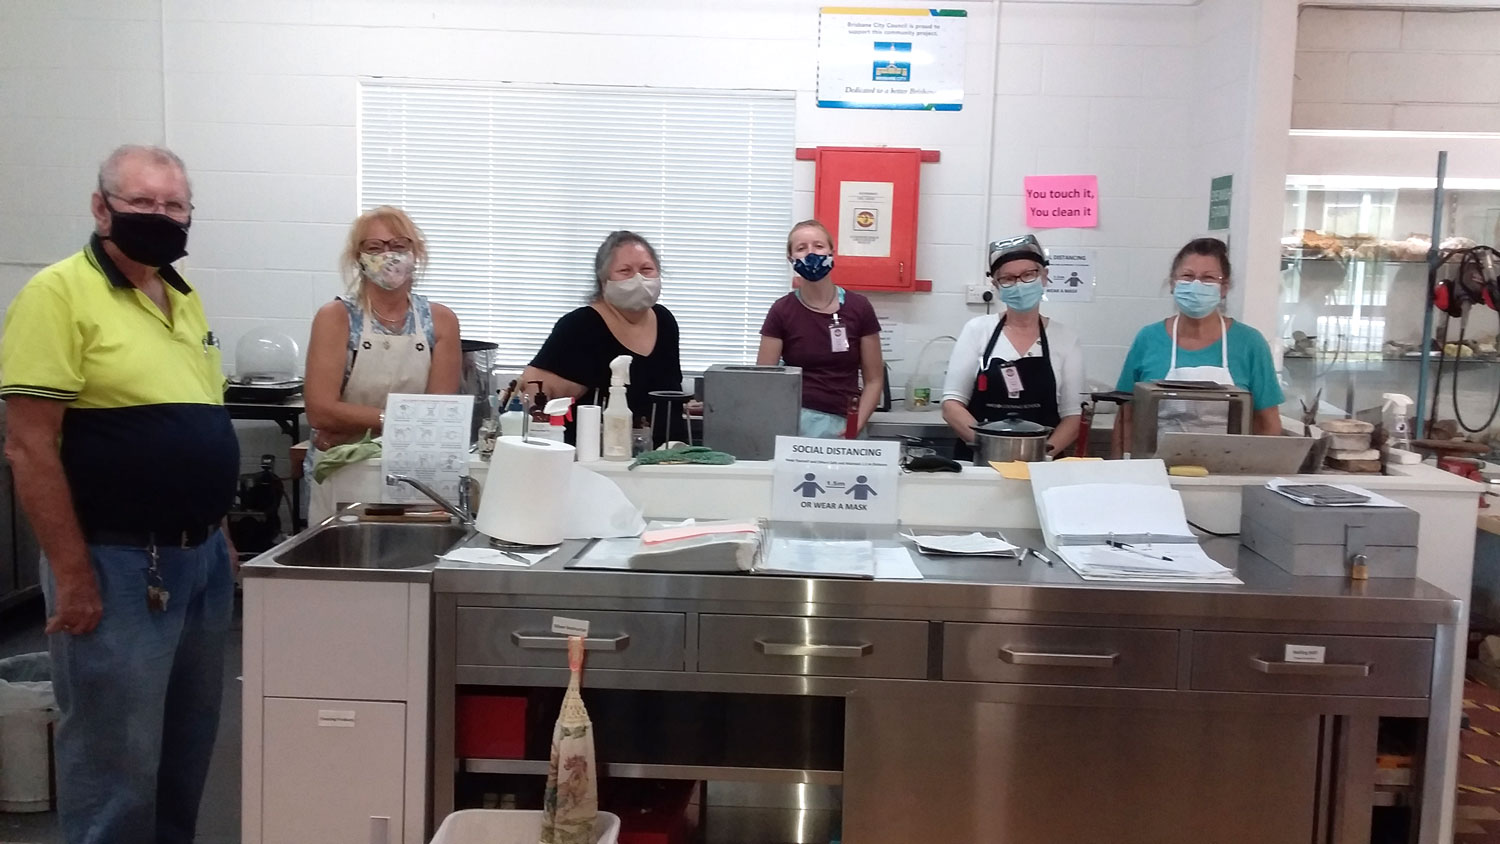
We welcome another group of very enthusiastic beginners to the club – check out the results.

A few comments from the survey on “What did you enjoy most?”

  • Finishing a custom made piece to even wear home
  • Good company while learning to work with metals. The sawing was quite enjoyable as well as the soldering
  • Everything we were shown was great
  • Ring making
  • Entire day
  • Learning a new skill in a relaxed environment
  • The ease of explanation and practical explanation
  • Learning the processes and role of each machine
  • Really hands on good learning each step with a beautiful stone to take home.
  • Approachable and passionate instructors

Filed Under: Cabbing, Metalsmithing

Beginners Day March 2021

April 8, 2021 By Carol

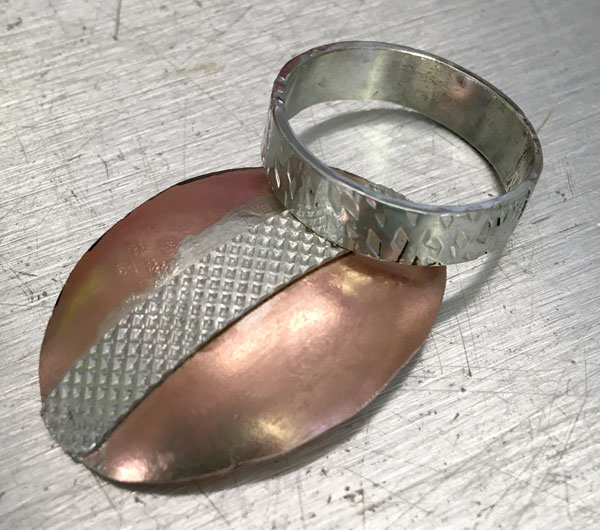
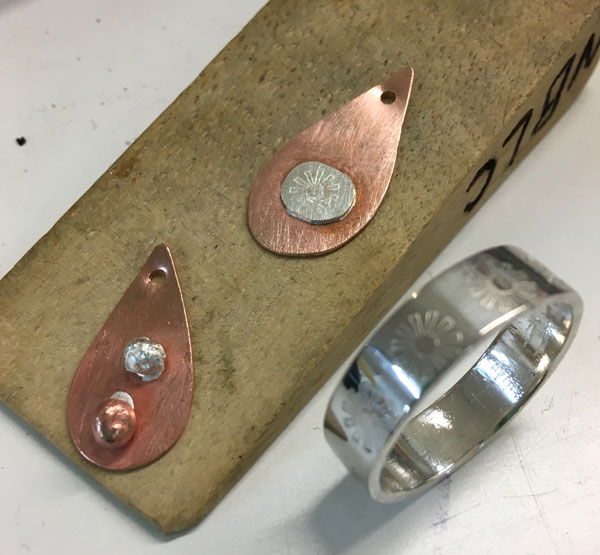
March saw another very successful beginners day, once again with some very promising new members.  Below are the responses from the day and photos of their work.

What did you enjoy most?

  • Everything we were shown was great
  • Good company while learning to work with metals. The sawing was quite enjoyable as well as the soldering
  • Finishing a custom made piece to even wear home

What did you enjoy least?

  • The course ending
  • Trying to get scratches out of the silver ring, but it is a good learning experience
  • What did you enjoy least?

Use one word or a short statement to describe the day

  • Great
  • Fun
  • Fascinating. Informative. Friendly. Helpful

Additional feedback

  • It would be great to learn more about the possibilities of what can be done with silversmithing at the club
  • Very comfortable environment and will feel welcome to return as soon as allowed

Filed Under: Cabbing, Club event, Metalsmithing

  • 1
  • 2
  • 3
  • …
  • 6
  • Next Page »

Copyright 2014 · Website Design Brisbane

Insert/edit link

Enter the destination URL

Or link to existing content

    No search term specified. Showing recent items. Search or use up and down arrow keys to select an item.