by Ray Wilson
Feldspar is the name of a large group of silicate minerals that can be found in igneous, sedimentary, or metamorphic rocks. Feldspars are commonly used in lapidary. The coloured varieties make great cabochons and the clear type that can be found at Hogarth’s Range (west of gold coast) or Springsure Qld. can be faceted. Feldspar has a hardness of 6 on the Mohs scale, so not as hard as quartz or agate.
Feldspar is an important industrial mineral being used to manufacture plate glass, container glass, ceramic tiles, plastics and other products.
Anyone interested in cabbing some Spectrolite see Carol South as the club has some material for sale.
Labradorite – a variety of plagioclase Feldspar. Named after a location in northern Canada. Labradorite displays an iridescent optical effect (or schiller) known as labradorescence. Most material now comes from Madagascar.
The cause of this optical phenomenon is lamellar structure (very thin plates or flakes) with light being diffracted.
Spectrolite – A variety of plagioclase Feldspar found only in Finland. Spectrolite is a trademarked name for this material.

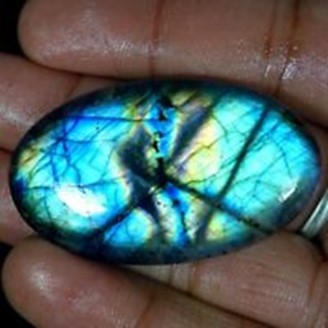
The difference between Labradorite and Spectrolite is mainly that the background material in Labradorite is clear or translucent while Spectrolite the background is black. Spectrolite tends to have more vibrant colours in reds, purples, and oranges. Labradorite is generally vivid blues and yellow/bronze colours.
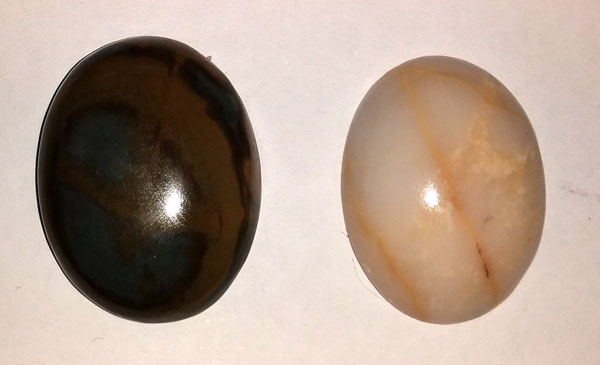
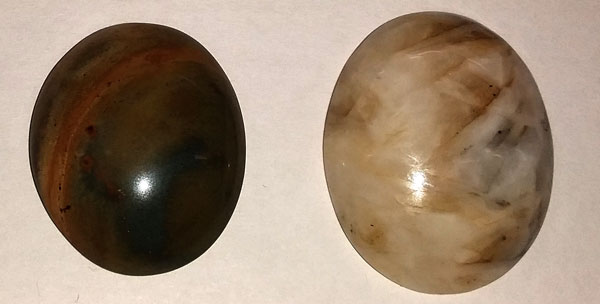
Moonstone – an orthoclase Feldspar that shows a pearly sheen or schiller. This is the basis of the name moonstone. Its name is derived from a visual effect, sheen or schiller (adularescence), caused by light diffraction within a micro-structure consisting of regular lamellae.

Sunstone – is a plagioclase Feldspar that has either a hematite (iron stone) or copper inclusion. Sunstone fund in Kong Bore Northern Territory has a hematite inclusion and appears as a series of rainbow-coloured specks rather than a schiller as in Labradorite or spectrolite

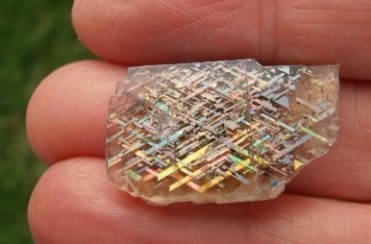
One variety of sunstone also found in the Northern Territory is a very rare Rainbow Lattice Sunstone
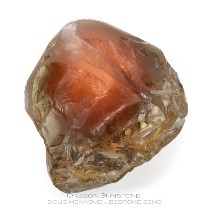
Oregon Sunstone from Oregon in USA has a copper inclusion which gives the stone a coppery coloured schiller.