North Brisbane Lapidary Club

We Dig Rocks

  • Email
  • Facebook
  • Home
    • Activities
      • Gem Cutting
      • Fossicking
      • Metalsmithing
        • Beginner Silversmithing Projects
      • Gemmology
    • Membership
      • Constitution of the North Brisbane Lapidary Club Inc.
      • Costs and Fees
  • Visit Us
  • Gem Shows
    • QLACCA Gem Show Dates
    • Raffles & Prizes
    • Gem Shows Photo Gallery
    • Gem Show Dealers & Traders
  • News
    • Blog
      • Gem Show
      • Work Sessions Activity
      • Club event
      • Cabbing
      • Enamelling
      • Faceting
      • Fossiking
      • Metalsmithing
    • Newsletter Archive
  • Member’s Area
    • Calendar
      • My Bookings
    • Suppliers
    • Resources
    • Gems, Minerals and Rocks
    • Competitions
  • Log In
  • Log Out

On Line Learning

November 19, 2020 By Carol

By Ray Wilson

During the last 6 months we have all had plenty of time on our hands. This has given me an opportunity to search for online resources that increase my knowledge and give me the incentive to perhaps try new skills.
Craftsy is a fantastic online resource for a whole range of hobbies including jewellery making. Our club subscribed to Craftsy several years ago for some specific online courses, but I’m not sure how how well this investment is recognised. Basically the content is structured in paid classes around various topics and includes a video instruction. It also provides a parts list that includes all of the specifications for the material used in the video. Additionally, for paid courses, subscribers can post questions and get individual feedback from the instructor. Once you have subscribed to a lesson, you have unlimited access to the course. You can do the whole course in one sitting or you can pick out specific parts. You can watch the lesson over and over until you are happy that you understand the skill being demonstrated
Craftsy came to the fore this week with an email that highlighted a range of free videos and also a reduced price for the paid courses.

Of interest to members might be the free lesson on how to use a flex shaft. I know a lot of members have this tool, but how many of us have been instructed how to use the tool to create and improve your creations? Check it out here:
https://www.craftsy.com/class/getting-started-with-the-flex-shaft/

Other free lessons which may be of interest include Micro Torch Basics:
https://www.craftsy.com/class/micro-torch-basics/
Of course Craftsy is not the only online learning facility. Rio Grande also provide many short videos on various topics. You can access these through the riogrande.com website or go directly to YouTube and search for Rio Grande Jewellery:
https://www.youtube.com/results?search_query=rio+grande+jewelry+tutorials

Filed Under: Metalsmithing

Pendants

November 11, 2020 By Carol

by Mary Lancaster        

Looking for a different activity, I found these cabochons in my stash and decided to have a go at making a pendant (first time!). The first one was a bit of a challenge, however trial and error resulted in the above. Maybe next time I can try using silver plate for the backing.       


Filed Under: Cabbing, Metalsmithing

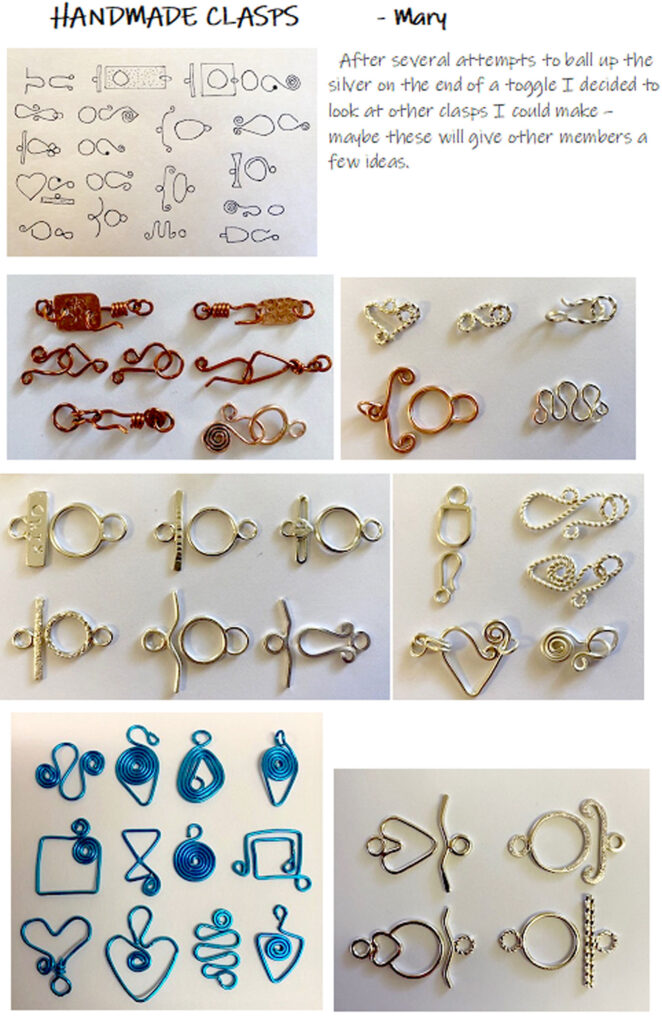
Handmade Clasps

October 15, 2020 By Carol

Filed Under: Club event, Metalsmithing

More than just links

October 15, 2020 By Carol

By Katarina

For the club competition we can either make a necklace or a bracelet. In the past we have shown you the beautiful necklaces made by Mary Lancaster. I look at them and see the beauty and work and certainly appreciate them but they are not my style.

They might not represent your style either so I wasted some time on your behalf and looked for alternate styles:

For the purpose of the competition the piece has to be made of silver or gold with no more than 25% copper for accent purposes allowed (that is optional). And no stones either this year.

Necklace length definitions:

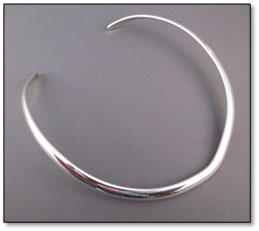
1. Collar – Collar necklaces sit flush against the skin and rest directly above the collarbone. Contemporary collar necklaces are thick and look similar to a collar on a shirt, measuring anywhere from 12 to 16-inches (30 to 40cm).

Figure 1 - Sterling Silver Collar

Figure 1 – Sterling Silver Collar

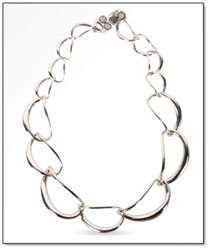
2. Choker – The choker necklace can either sit very high on the neck or just below the collarbone. The later style dangles more freely and is slightly longer in length. (16 inches/40cm)

Figure 3 - Starburst Choker

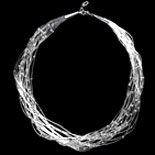
Figure 2- Sterling Silver Choker

Figure 3 - Starburst Choker

Figure 3 – Starburst Choker

3. Princess – defined either by their length or style. The length is longer than a choker but shorter than a matinee necklace. The 18-inch (45cm) length is thought to be the most universal and flattering length. Any pendant or focal piece will usually rest right below the collar bones.

4. Matinee – Matinee necklaces are great for jewellery layering because they are longer than princess length and shorter than opera length. These necklaces will fall somewhere between the collarbone and the centre of the bust. (22 inches/ 55 cm)

5. Opera – long and versatile. When they are worn as a single strand, the necklace should fall below the bust line. Some longer opera length necklaces may even reach the bellybutton. (30 inches/ 76cm)

6. Lariat – also known as a rope or Y-necklace. In terms of length, this necklace is longer than opera length; doesn’t have a clasp. The chain or beads form a long rope that is either tied or pulled through a circular finding like the one pictured here. (Ave. length: 34 inches / 86cm)

Figure 4 – Lariat Necklace

Necklace style definitions:

1.Bib – usually collar or princess length. They consist of a wide front portion that rests just below the neck. Pearls, beads, or gemstones are often sewn or set into the bib, creating fanciful designs along the circular or triangular frame.

Figure 5 – Bib Necklace

2. Lavaliere – a feminine pendant necklace that connects a dainty chain to a larger focal piece. That main pendant also has smaller embellishments dangling from it. This necklace style was popular during the Art Nouveau, Edwardian, and Art Deco jewellery eras. These delicate pendants look best with light, feminine, and even bohemian fashions. They are usually princess length and will sit right below the collarbone, so any neckline will work well.

Figure 6 – Lavaliere Necklace

Figure 7 – Locket

3. Locket – a small compartment pendant that can hold a small picture or memento. These pendants are personal, sentimental, and are often passed down for generations. Lockets were popular during the Victorian era and were often engraved and filled with a loved one’s hair.  Lockets look best with opera length chains but usually come standard with an 18″ princess chain. Pair a longer locket with a minimal necklace that is choker length.

Figure 8 – Pendant

4. Pendant – can come in many shapes and styles. Pendants are focal points that dangle off a chain of any length. Popular pendant styles include lockets and lavalieres. Pendants are easily personalized. Initial pendants make great gifts and are often worn close to the heart.

There are more styles but I have left them off as they are defined by the use of stones and pearls and so not suitable for our competition.

Reference

  • Figure 1 – Sterling Silver Collar by Artie Yellowhorse
  • Figure 2 – Liquid Chain Choker – by Louise Olsen
  • Figure 3 – Starburst Choker
  • Figure 4 – Lariat Necklace
  •  Figure 5 – Bib Necklace
  • Figure 6 – Lavaliere Necklace – by Kristin Ash. Why not replace the spinner with a wire sculpture
  • Figure 7 – Locket – you would have to make the locket too.
  • Figure 8 – Pendant

We hope this will give you some ideas and inspiration to participate in the competition. If you are not sure if your idea will work, why not contact one of our instructors or talk to any of us to discuss. And remember, you still have plenty of time.

Filed Under: Club event, Metalsmithing

Shapes Bracelet

October 1, 2020 By Carol

by Mary Lancaster

Materials

  • 1 mm round silver wire
  • 4 round jump rings (8.5 mm mandrel)
  • 4 square, rectangle and triangle shapes (formed free-hand with flat-nosed pliers)
  • 15 joining jump rings (3.0 mm mandrel)
  • 1 clasp

Steps

  • Make jump rings, squares, rectangles and triangles – solder, clean and polish
  • Join each shapes with joining links – solder, clean and polish
  • Add clasp
  • Give final clean and polish with emery paper and brass brush


Filed Under: Metalsmithing

Figaro Necklace – (5:1 links)

September 24, 2020 By Carol

by Mary

I made this Figaro Necklace (5:1 links) for my daughter for 2019 Christmas. I had previously made one in silver and one in gold wire using round wire (Alternate Pattern 2). My current project is Alternate Pattern 1, using 3:1 links (round jump rings and twisted long links). The mandrels used are what I have available at home, these can be replaced with more consistent sizes at the Club if others want to create their own necklaces.

Materials

  •  Round links x 85 using 1.0 mm square silver wire (twisted) and a 2.9 mm mandrel                                                                    
  •  Elongated links x 18 using 1.0 mm round silver wire and a 8.4 mm mandrel
  •  1 x Clasp
  •  Finished length: 56 cm

Steps                                  

  • Twist square wire. Anneal. Using 2.9 mm mandrel make 85 jump rings.
  • Anneal round wire. Using 8.4 mm mandrel make 18 jump rings.
  • Solder 8.4 mm jump rings and clean joins.  Pull into long/elongated links.
  • Start to assemble necklace soldering 5 twisted jump rings, then 1 long link, alternately.
  • Clean joins.
  • Attach clasp.
  • Clean and polish necklace.

Alternate Pattern  1  (3:1 links) 


Materials    

  •  Round links x 78 using 1.0 mm round silver wire and a 2.9 mm mandrel
  •  Elongated links x 25 using  1.0 mm square silver wire (twisted) and a 8.4 mm mandrel
  •  1 x Clasp

Steps

  • Twist square wire. Anneal. Using 8.4 mm mandrel make 25 jump rings.
  • Solder twisted jump rings and clean joins.  Pull into long links.
  • Anneal round wire. Using 2.9 mm mandrel make 78 jump rings.
  • Start to assemble necklace soldering 3 round jump rings, then 1 long link, alternately.
  • Clean joins.
  • Attach clasp.
  • Clean and polish necklace.

Alternate Pattern 2    (3:1 links)

Using 1.00mm or 0.8mm round silver or gold round wire

Length: 56cm

□  Allow 1 m of round and square silver wire to make the necklace

Filed Under: Metalsmithing

How to close your necklace (or bracelet)

September 10, 2020 By Carol

by Katarina

Now that you are planning in participating in the jewellery competition you are probably wondering how to close your necklace or bracelet – because yes, you have to make your own clasps.

Of course you could make your own lobster claw, box clasp or other fancy methods of keeping that necklace around your neck but unless you are a pro it will take as much time as it does to actually make the show piece.

But do not despair, help is at hand. There are some easier solutions: the S-Hook and the Toggle

S-Hook

A S-Hook is exactly that: wire bent into the shape of an “S” that will hook into a jump ring.

It is easy to make and fairly secure. And you can embellish it as much or as little as you wish: hammer it, texturing, wrapping, flattening.

The other side can be a simple jump ring or another S-hook, this time with the ends closed.

Here are a couple of videos showing how to make a simple S-Hook:

  • S-Hook clasp with looped ends by Art Jewelry Magazine
  • S-Hook clasp with hammered ends by Art Jewelry Magazine

For a variety of s-hook samples – remember you have to make it – check this website Artbeads.com

A variation of the S-Hook is the simple hook and eye clasp. In essence it is half a s-hook with a jump ring.

For a range of these, check out this website Rings & Things.com

And remember, if you like the design of one type you should be able to adept it to the other style.

Toggle

The next type of clasp that you can make yourself is the toggle.

A toggle is a bar that can be threaded through a jump ring without falling out and therefore securing the necklace, and in fact bracelet securely. I like toggles because they are easier to use when closing a necklace. Less fumbly so to speak.

For a tutorial, check out this video:

  • Toggle clasp by Online Jewelry Acadamy

The following gets you to one of my favourite websites with loads of good tutorials, this one for a toggle:

  • Jewelry Tutorials by Hans Meevis
And here is another favorite of mine:

  • Guild of Jewellery Designers

And if you want to see a whole raft of samples, simply google “handmade toggle clasp” or even better “artisan toggle clasp”.

And if all fails, ask one of your friendly silversmiths at the next table.

And I am sorry to say, at the moment you cannot access the library.

Filed Under: Metalsmithing

Hollow Neckpiece

September 3, 2020 By Carol

by Carol Money

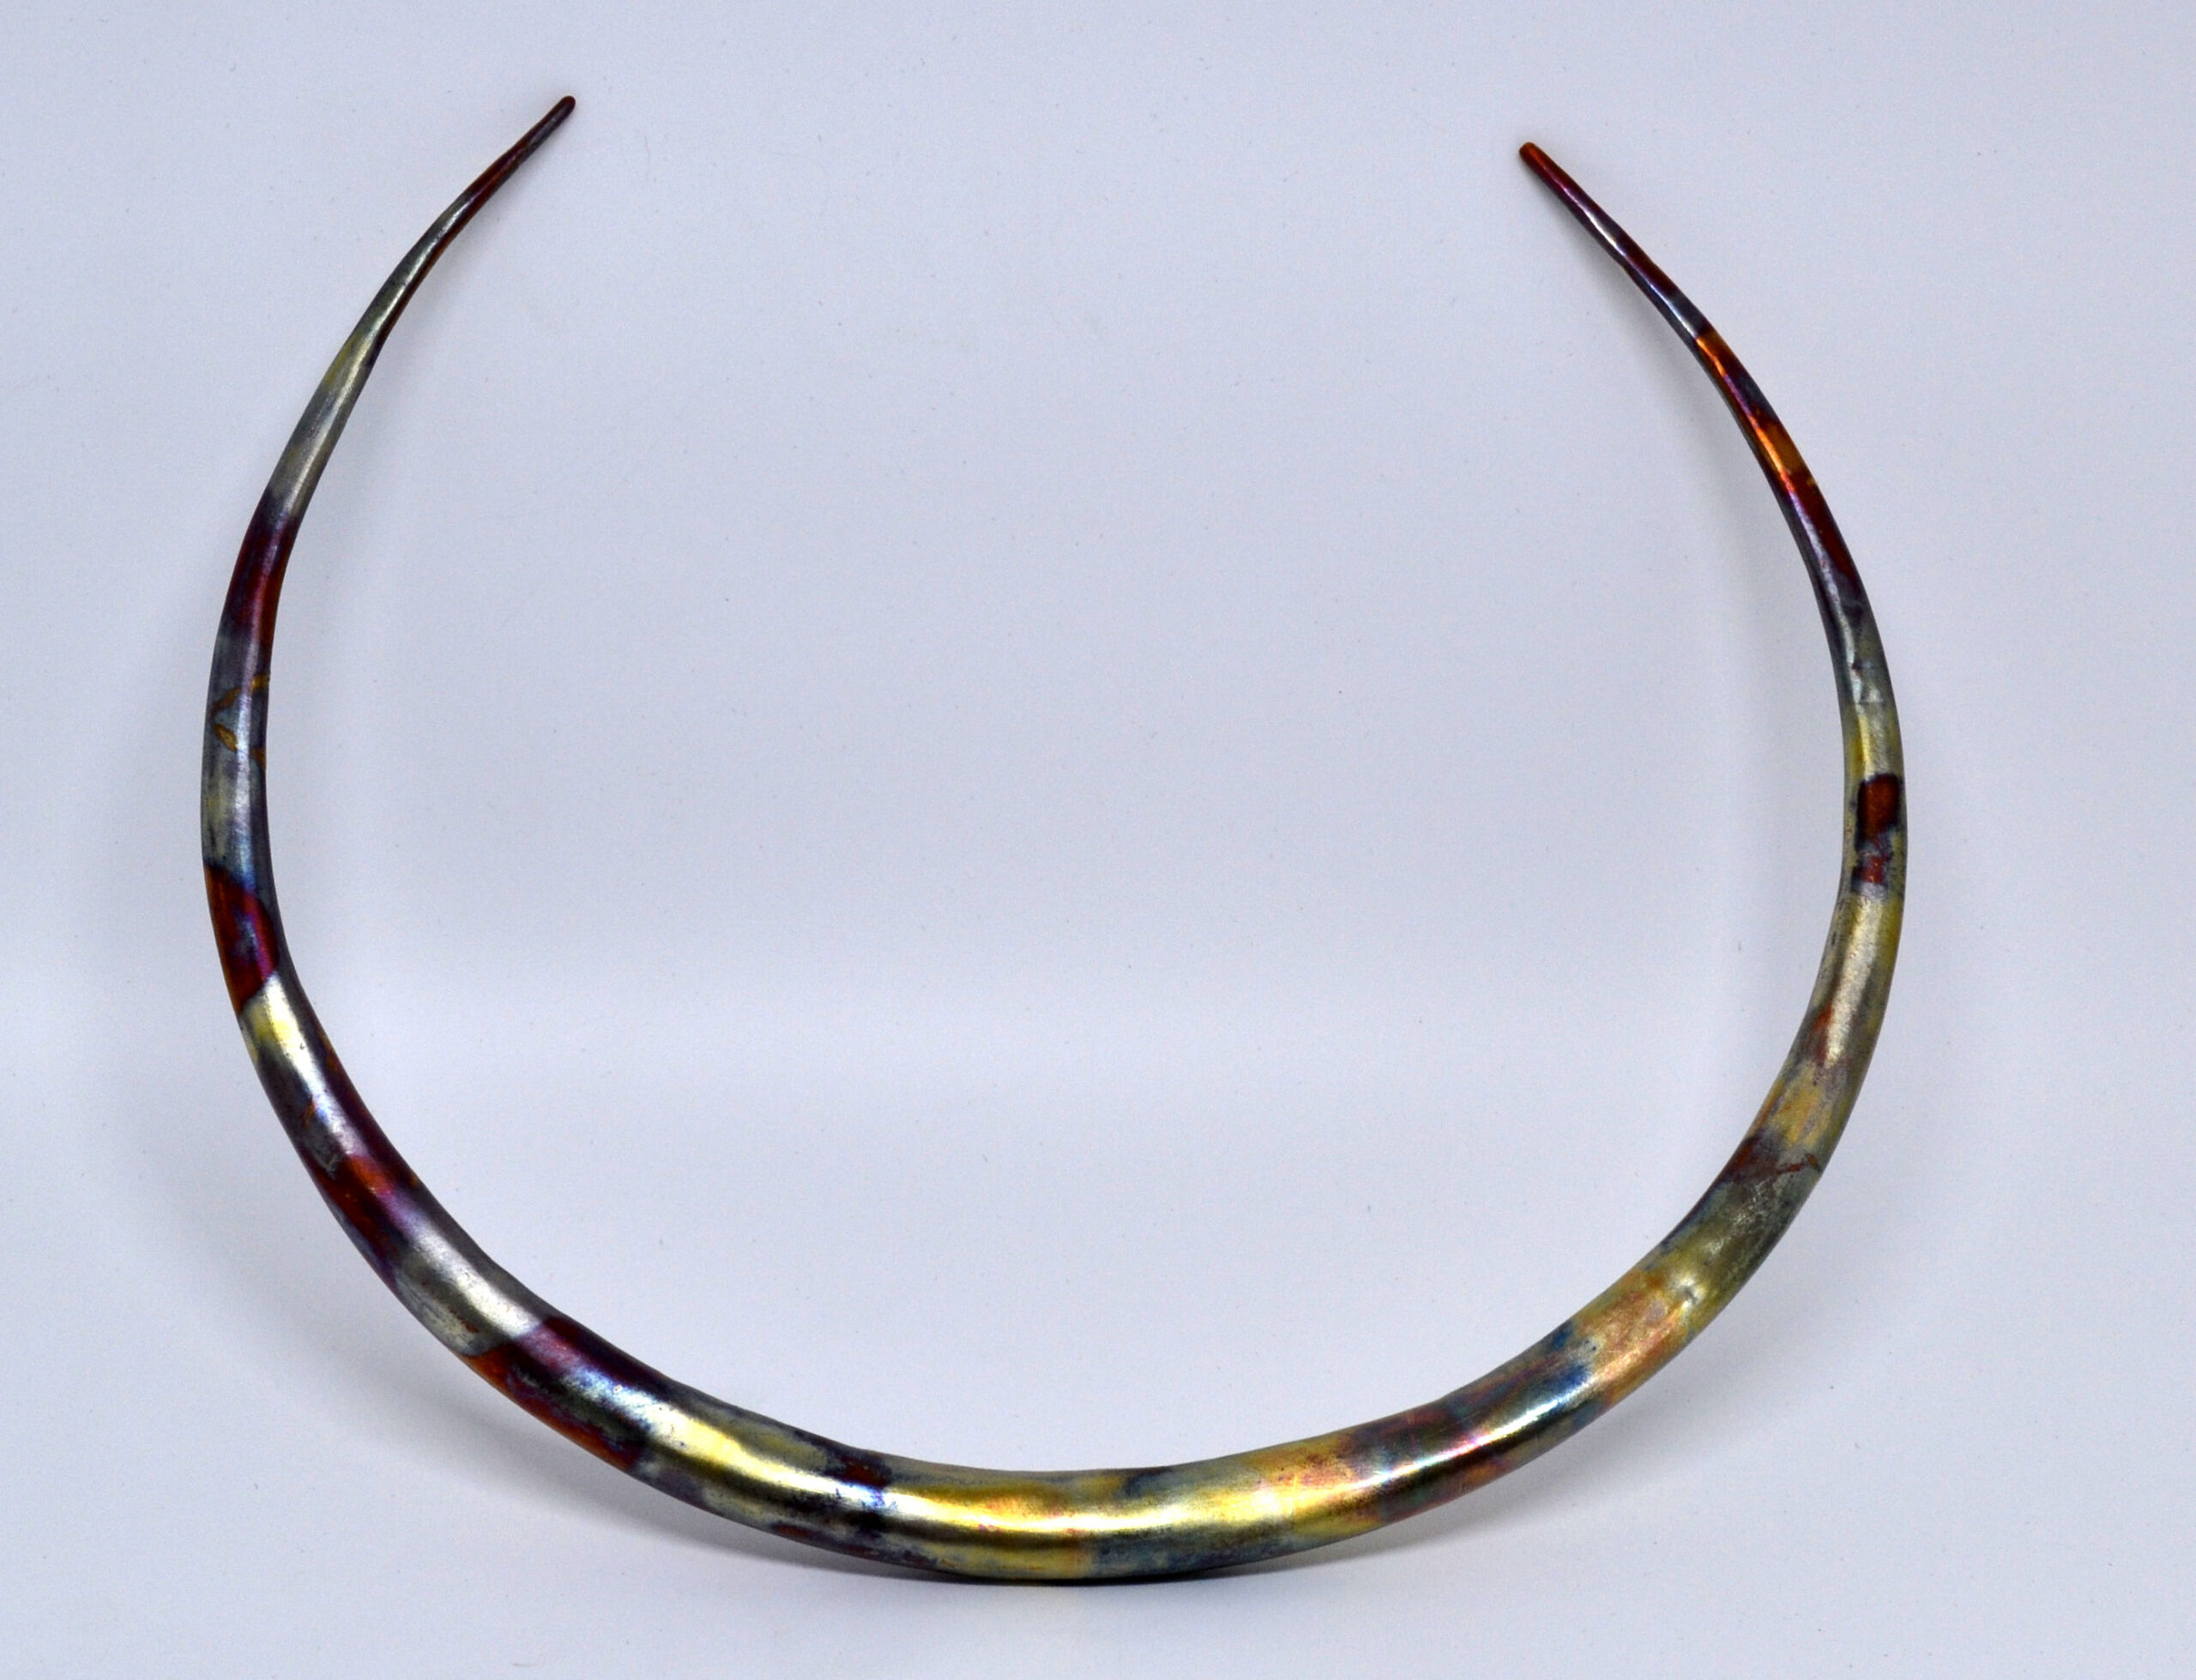
Hollow Neckpiece

Project 22 from Alan Reveres “Professional Jewelry Making

The Torque is made from 0.4 mm thickness copper sheet.  The process involved first making a couple of wooden stakes to form the copper sheet, and then being very gentle with the hammering as the annealed copper was very soft.  Soldering the long joint and forming the final shape using only your fingers was very satisfying.

Lastly I decided to colour it using the heat from the flame, this was lots of fun.

The design is not the best for either putting on and taking off or wearing, as the ends although rounded, still scrape my neck, and then it hangs a bit low, something to think about.  It was however another great learning project.


Filed Under: Metalsmithing

Friday Night learning Bezel setting

August 27, 2020 By Carol

For the last couple of Friday nights work sessions, a couple of members have been learning to do a bezel setting.

The stones were fairly small, so fine silver bezel wire was used, with a bezel pusher to secure the stone and a burnishing tool to finish.

Sharon chose to add hers to a ring.

Lois chose to add a decorative band of silver ball wire and then make hers into a pendant, adding a bail.

Filed Under: Metalsmithing

Family Bracelet

August 13, 2020 By Carol

Family Bracelet

by Mary Lancaster

  • Cut heart shape from silver plate. File and smooth edges. Punch a hole on each side.
  • Cut length of round wire (gold or silver), form heart and sweat solder onto heart plate.
  • Select decorative stamp eg. dragonfly, stamp onto silver heart.
  • Stamp letters onto heart, each one for a family member.
  • Make links for bracelets:
    • 11 x 8.5mm jump rings, pulled long (1mm, ½ round)
    • 11 x 3.0 mm jump rings (joiners)
    • 1 x 2.5mm jump ring (to attach clasp)
  • Solder links together and attach to heart plate. Attach clasp. Clean solder joins. Polish.

Live Love Bracelet

by Mary Lancaster

  • Cut length of silver plate, shape and smooth (file, emery paper). Punch hole each end.
  • Stamp chosen words, symbols.
  • Make bracelet:
    • 10x 8.5mm jump rings, pulled long (1mm, ½ round)
    • 10 x 3.0mm jump rings (joiners)
    • 10 x 2.5mm jump ring (to attach clasp)
  • Solder links together and attach to heart plate.
  • Attach clasp.
  • Make small wire heart (silver or gold). Attach with small jump ring.
  • Clean solder joins. Polish.

Filed Under: Metalsmithing

  • « Previous Page
  • 1
  • 2
  • 3
  • 4
  • 5
  • 6
  • Next Page »

Copyright 2014 · Website Design Brisbane

Insert/edit link

Enter the destination URL

Or link to existing content

    No search term specified. Showing recent items. Search or use up and down arrow keys to select an item.